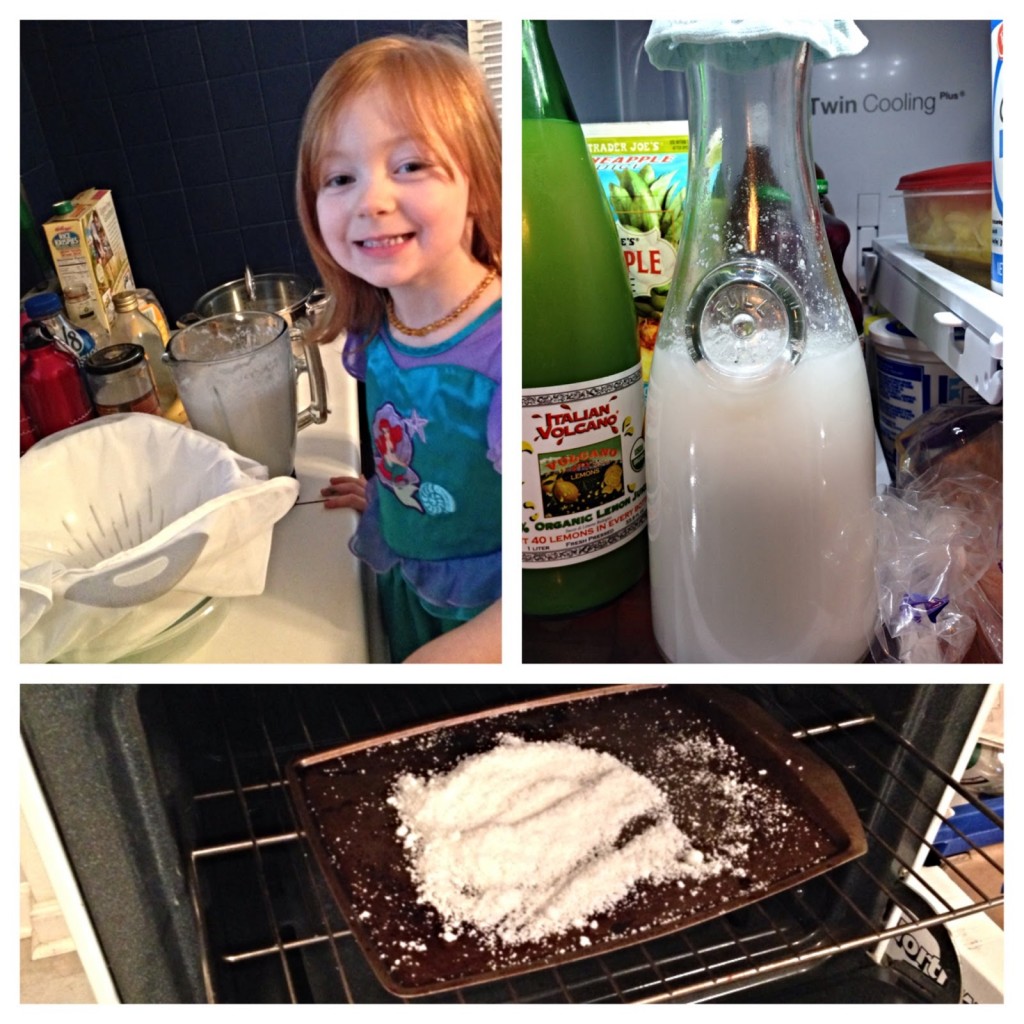
Because of my oldest daughter’s IBS, our family consumes a pretty limited amount of dairy. By swapping out for some alternatives and doing a lot of trial and error, we’ve found that we really like almond milk as well as coconut milk.As we’ve continued on our journey to attack her symptoms as well as some other medical concerns I was having as naturally as possible we really began researching and studying labels. The results, in our opinion, were very alarming and we set out on a journey to start making our own homemade coconut milk.
First, the process is extremely simple. Second, it is actually saving us about $0.40 a gallon. We go through 3-4 gallons of milk a week. Our family LOVES it. So even if the ingredients don’t make a huge difference to you, the savings alone adds up to $83 a year for us!
The end result is a homemade coconut milk you worked for, a milk you can honestly say 100% that you know what is in it and a milk that is quite delicious if I say so myself. Plus, it’s a fun experience for kids to help out and if you choose, the pulp can be dried out and sifted to keep as a gluten-free flour source.
Homemade Coconut Milk
What you will need:
- Blender (Any brand will work as long as it has a high speed)
- Cheese cloth, nut bag or similar mesh for straining (We actually used lingerie bags in the beginning because it was a fine enough mesh… Nut bags and/or cheese cloth can be found on Amazon or in the cooking utensils section of many stores.)
- Colander/strainer
- Pitcher for storage (glass is recommended due to BPA concerns many families have)
- Large bowl (big enough to fit your strainer into to catch the milk)
- 1 cup almonds or 2 cups shredded coconut (We use organic options and buy them in bulk from Amazon or Costco.)
- 4 cups filtered water
- Any additives of your choice (This is a good time to add some cocoa powder if you want to have a nice treat of chocolate milk. Honey, vanilla or some organic cane sugar can help with the flavor. We like to add just a touch of salt to help crisp up the flavor. Play around with some fruit purees to make other flavors of milk too.)
Directions:
- Soak the almonds or coconut in water overnight. This softens them up and helps break them down in preparation for blending.
- Add all your ingredients to your blender. Puree or liquefy on high speed until you get your consistency desired. It shouldn’t take more than a couple of minutes.
- Line your strainer with the fine mesh. Place the strainer inside the large bowl. Pour the contents of the blender onto the mesh. Squeeze out any excess liquids making sure to keep the pulp inside the mesh.
- Done! Chill in the fridge and store up to 3-4 days if you can make it last that long. This yields about 64 oz of milk.
(To make the flour, simply spread out the pulp on a cookie sheet lined with parchment paper. Bake at 175 degrees for 3-4 hours, checking and stirring every 30 minutes. Once dried out, sift into a container and store with an airtight lid in the fridge for up to a week. Ideally, try to bake with it as soon as possible.)
It’s so easy and so much fun to make. My girls love helping out. We already don’t notice any inconvenience by needing to make our own milk and it’s just one more way we are helping sustain our own family and decrease our footprint.
Let’s connect on social media too:
Mumbling Mommy on Facebook
Mumbling Mommy on Twitter
Mumbling Mommy on Pinterest
Tags: almond milk


