


Big photos on canvases are everywhere these days. Having your loved ones blown up big in bright colors is quite popular. The bigger, the better! However the bigger, the more expensive, and canvases are quite expensive. We love finding good deals and doing DIY projects. In fact, click HERE for another post from Mumbling Mommy on decorating your home on a budget. When I was in MOPS a few years ago, I did a craft project, a DIY Photo Canvas. I was unsure how it would turn out and if I would like it, but I LOVE it. I have gotten several compliments, and in fact my teacher sister-in law used the idea to make 8×10 photo canvases for her class to give as gifts to their moms on Mother’s Day. It’s so easy that you are worried you are doing it wrong. Here’s how to make your own DIY Photo Canvas.
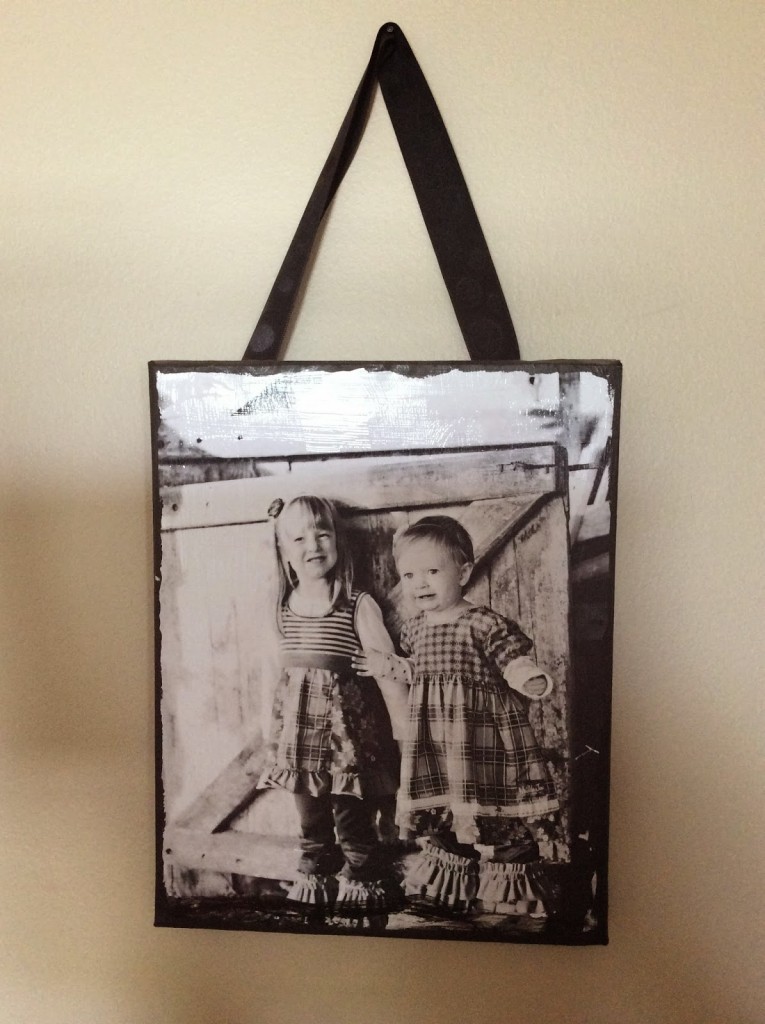 |
| The finished product! |
Steps To Make a DIY Photo Canvas
1. Pick a picture you want blown up on your wall. Maybe it’s one from a recent photo session. Maybe it’s one you took. Think about whether you want color or black and white. I think when you do it yourself a black and white is better.
2. Pick a size. Michaels, JoAnn Fabrics, and Hobby Lobby all have blank canvases you can purchase. Sometimes they run specials where you can get buy one and get one free or for a penny. Some also come in packs of two. I wouldn’t go too big for your first DIY. An 8×10 looks really nice and I’m sure an 11×14 would, too. I haven’t seen one any bigger than that as a DIY, though.
3. Order your print. Try Shutterfly or Costco/Sam’s Club if you have a membership. Also look into photography printing sites like mpix. You might want to order two or three in case you mess up on one.
4. Get your supplies. You will need matte Modge Podge, a sponge paint brush, a small paint brush, and black acrylic paint (for the edges).
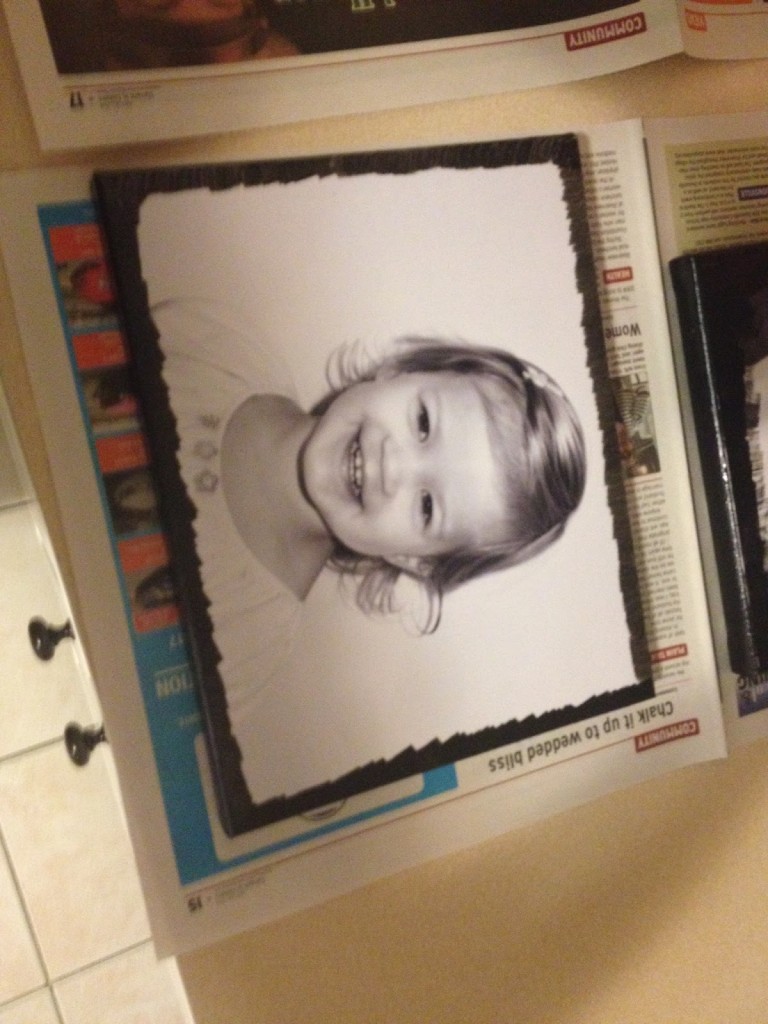 |
| Here you can see the edge looks more rough. |
5. Get started! Lay out your canvas. Turn your picture over and with the sponge brush apply the Modge Podge all over the back of the picture. Turn it over and lay it on the canvas so its edges match the corners. Smooth it down and press on it for a few minutes. Give it 5-10 minutes to dry. Next you will rub Modge Podge all OVER the picture to seal it to the canvas. You will go over the edges, too. It will go on white and dry clear. Once dried, get the acrylic paint and with the small brush paint the outside edges of the canvas so it looks like the picture is wrapped over the edges. You will also paint a small line of paint on the front of the canvas all around the edges to match the outside edges. This makes the picture look wrapped. If you want a torn/rough look on the edge, make the paint on top of the picture look more torn or splotchy (see picture). If not, you can lightly put masking tape on the canvas (not pressing down) to give yourself an edge around the picture between the inside of the picture and the outside edge (like the mat between a picture and the frame). This gives it a more smooth professional look.
6. Once dried, you can either staple a ribbon on the back to hang it from or you can just hang it as is on your wall! You can also prop it on a desk, wall, or mantle/shelf.
7. Enjoy your hard work!
Let’s connect on social media too:
Mumbling Mommy on Facebook
Mumbling Mommy on Twitter
Mumbling Mommy on Pinterest
Category: Arts & Crafts
Tags: Alyssa
